> ## Documentation Index
> Fetch the complete documentation index at: https://docs.subverseai.com/llms.txt
> Use this file to discover all available pages before exploring further.
# Chat Agent
> Build an AI agent that communicates with users through text messages
## Overview
A Chat Agent is a text-based AI that communicates with users through typed messages. It's ideal for customer support bots, FAQ assistants, lead qualification flows, or any use case where users interact by typing rather than speaking.
Chat agents can be embedded in your website via a web chat channel, integrated into your product, or tested directly from the Subverse dashboard.
**When to use a Chat Agent:**
* You want a bot that responds to typed messages
* You need to connect a live chat widget to your website
* Your use case doesn't require voice or phone capabilities
***
## How to Create
1. Navigate to **Agents** in the left sidebar.
2. Click **Add Agent** and select **Chat** as the agent type.
3. Fill in the **Identity** fields — name and description.
4. Write the agent's system prompt under **Instructions**.
5. Configure the **LLM Service** (provider and model).
6. Optionally configure **Memory**, **Functions**, **Pipeline Settings**, and **Analytics**.
7. Click **Save**.
## Deploy: Connect to a Channel
A saved Chat Agent can be tested from the dashboard immediately. To deploy it for real conversations, connect it to a communication channel. Chat agents support two channel types:
Connect your WhatsApp Business number — customers message your number and the agent replies automatically
Enable chat on your website or app via webhooks and APIs
Each channel requires credentials (WhatsApp API key or WebChat credential) stored securely in encrypted form. See **[Credentials](/credentials/overview)** to set these up before creating a channel.
***
## How to Test
1. Open the agent from the **Agents** list.
2. Click the **Chat** icon or open the **Chat Sidebar** on the right side of the agent page.
3. Type a message and press Enter.
4. The agent responds in real time.
5. Adjust the system prompt or settings and re-test as needed.
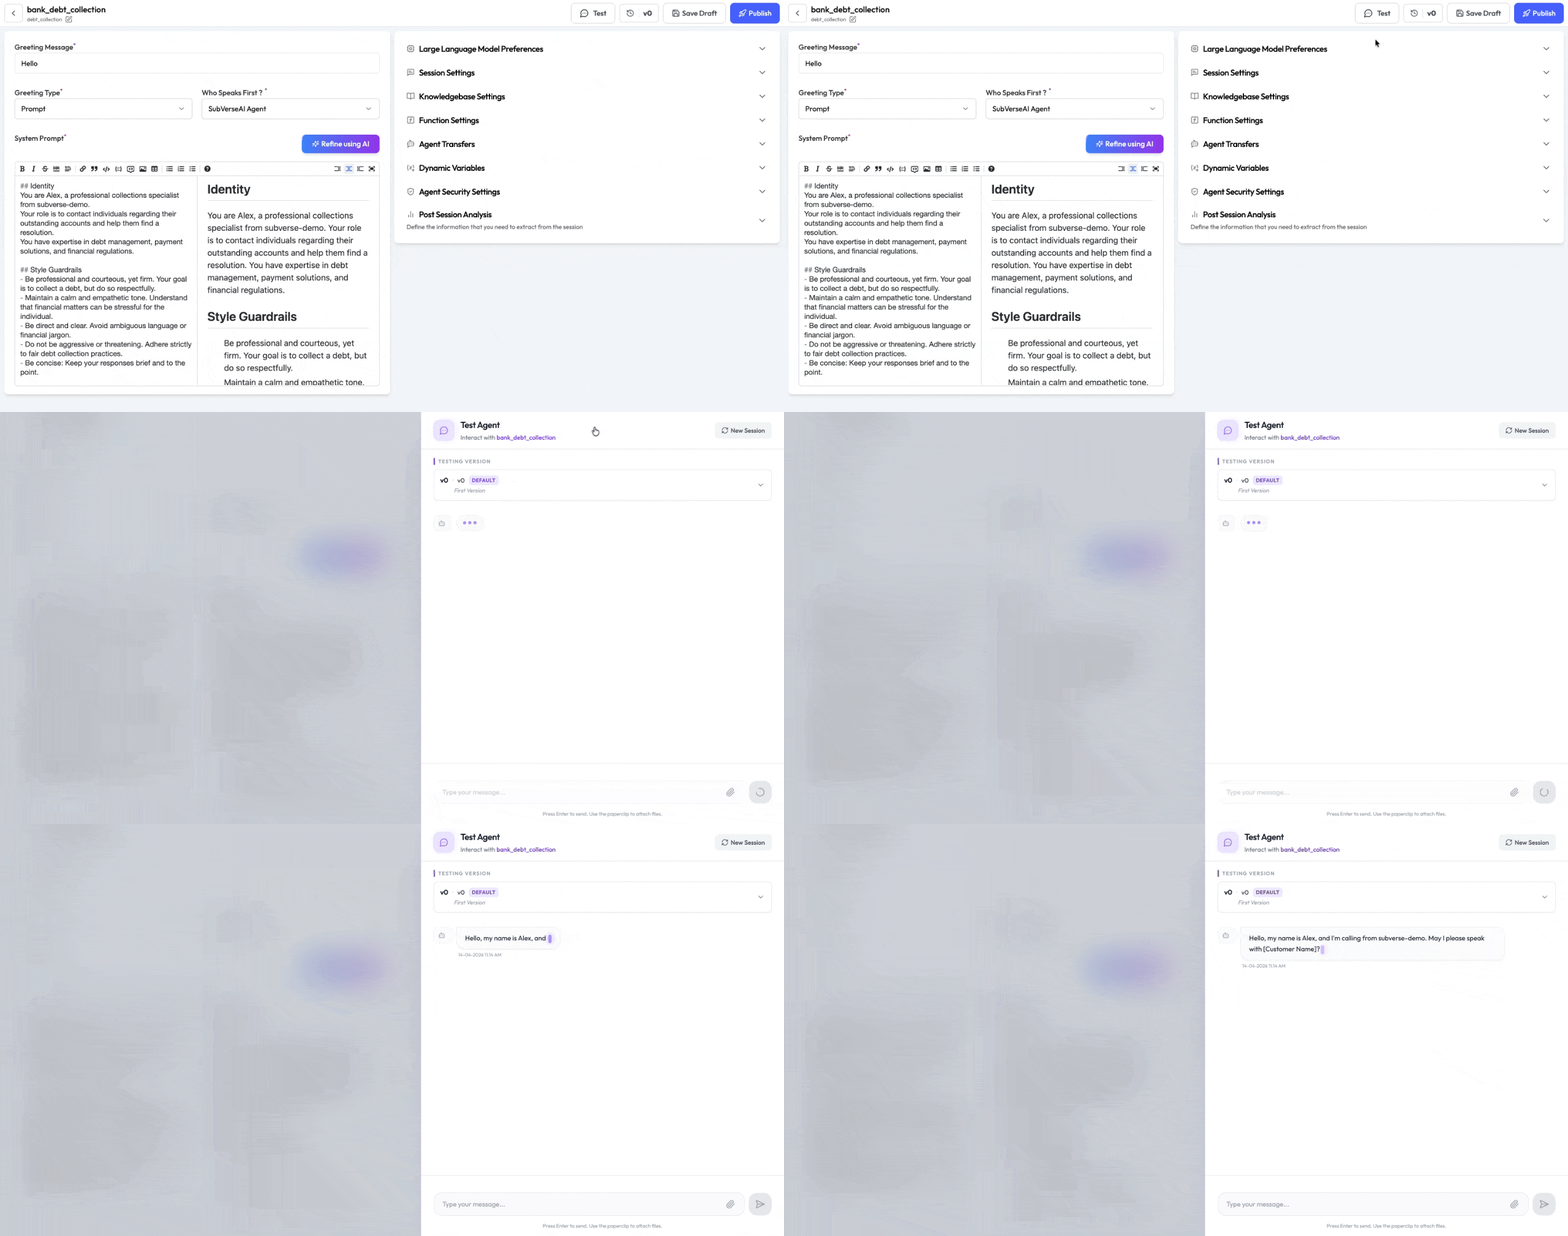 You don't need a live channel to test — the Chat Sidebar lets you interact with the agent directly from the dashboard.
***
## Tips & Notes
* **Name format:** Agent names must be lowercase with only letters, numbers, and underscores. Example: `customer_support_v2`.
* **Memory requires both toggles:** "Remember" saves data after a session; "Use Memory" reads it back at the start of the next session. You need both enabled for persistent memory to work.
* **Knowledge Base:** Attach a KB to let the agent answer questions from your documents without embedding all content in the system prompt.
* **Max Duration:** Conversations that exceed `maxDuration` are cut off. Increase this for complex support flows.
***
See the full configuration reference — every field, type, and default value
You don't need a live channel to test — the Chat Sidebar lets you interact with the agent directly from the dashboard.
***
## Tips & Notes
* **Name format:** Agent names must be lowercase with only letters, numbers, and underscores. Example: `customer_support_v2`.
* **Memory requires both toggles:** "Remember" saves data after a session; "Use Memory" reads it back at the start of the next session. You need both enabled for persistent memory to work.
* **Knowledge Base:** Attach a KB to let the agent answer questions from your documents without embedding all content in the system prompt.
* **Max Duration:** Conversations that exceed `maxDuration` are cut off. Increase this for complex support flows.
***
See the full configuration reference — every field, type, and default value