> ## Documentation Index
> Fetch the complete documentation index at: https://docs.subverseai.com/llms.txt
> Use this file to discover all available pages before exploring further.
# Connect Shopify store
> Install SubVerse plugin and add integrate agents with your shopify store
## Install plugin
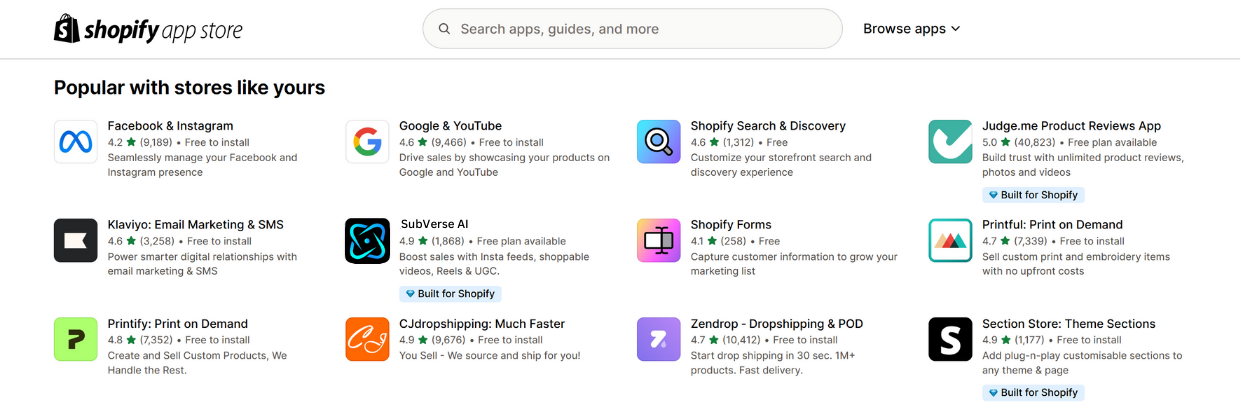
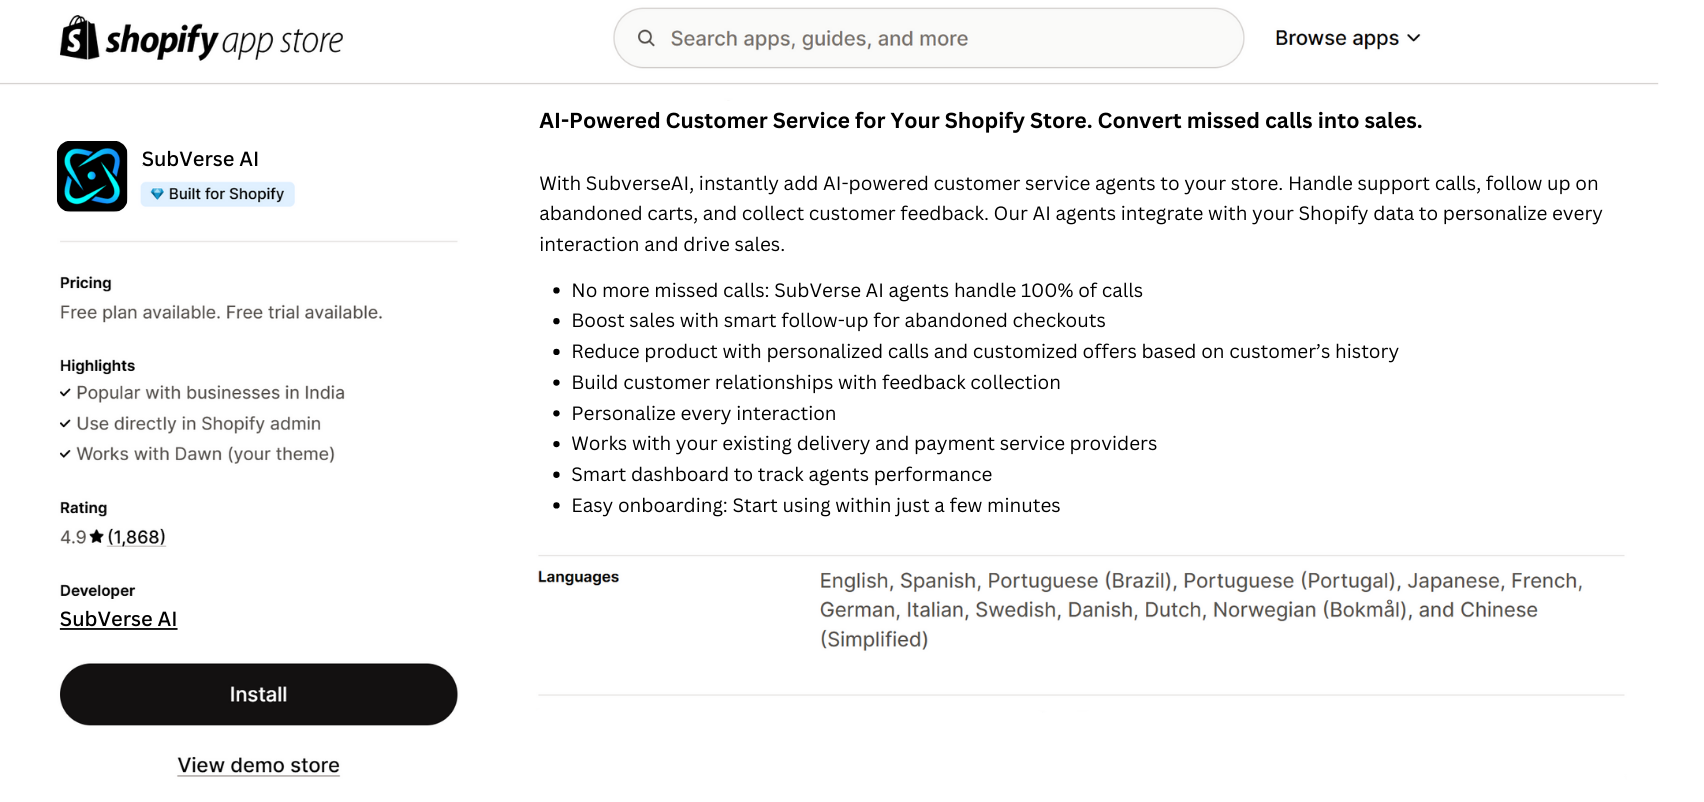
1. Install SubVerse plugin by visiting [this link](https://apps.shopify.com/) or search for SubVerse AI in [Shopify app store](https://apps.shopify.com/).
2. Grant necessary permissions and proceed with the installation.
 ## Use Cases
Select the use cases you want to use the app for:
* **Customer support calls**: Handle incoming calls
* **Abandoned checkout or cart**: Capture customers who didn't make payment after checkout
* **Abandoned browse**: Capture customers who browsed products but didn't add to cart
* **Return request**: Call customers who have raised return request and push for replacement
* **Order feedback**: Collect order feedback after fulfillment
* **Resolve negative review**: Contact customers who have given bad public review and try to resolve the issue
* **COD confirmation**: Confirm availability and interest before delivery for COD orders
You can also create your own use cases from SubVerse dashboard.
## Setup voice agents
Customize voice agents as per your use cases, branding guidelines, product types, SOPs, etc.\
Refer to this [quickstarter](/dashboard/getting-started) on how to setup your voice agents, telephony, and API key in just 10 minutes.
## Configure Shopify workflows
Once you have obtained a phone number, API key, and customized voiec agents on SubVerse interface, you will need to setup workflows to trigger actions based on customer behavior such as cart drop, order placement, reviews.
## Use Cases
Select the use cases you want to use the app for:
* **Customer support calls**: Handle incoming calls
* **Abandoned checkout or cart**: Capture customers who didn't make payment after checkout
* **Abandoned browse**: Capture customers who browsed products but didn't add to cart
* **Return request**: Call customers who have raised return request and push for replacement
* **Order feedback**: Collect order feedback after fulfillment
* **Resolve negative review**: Contact customers who have given bad public review and try to resolve the issue
* **COD confirmation**: Confirm availability and interest before delivery for COD orders
You can also create your own use cases from SubVerse dashboard.
## Setup voice agents
Customize voice agents as per your use cases, branding guidelines, product types, SOPs, etc.\
Refer to this [quickstarter](/dashboard/getting-started) on how to setup your voice agents, telephony, and API key in just 10 minutes.
## Configure Shopify workflows
Once you have obtained a phone number, API key, and customized voiec agents on SubVerse interface, you will need to setup workflows to trigger actions based on customer behavior such as cart drop, order placement, reviews.
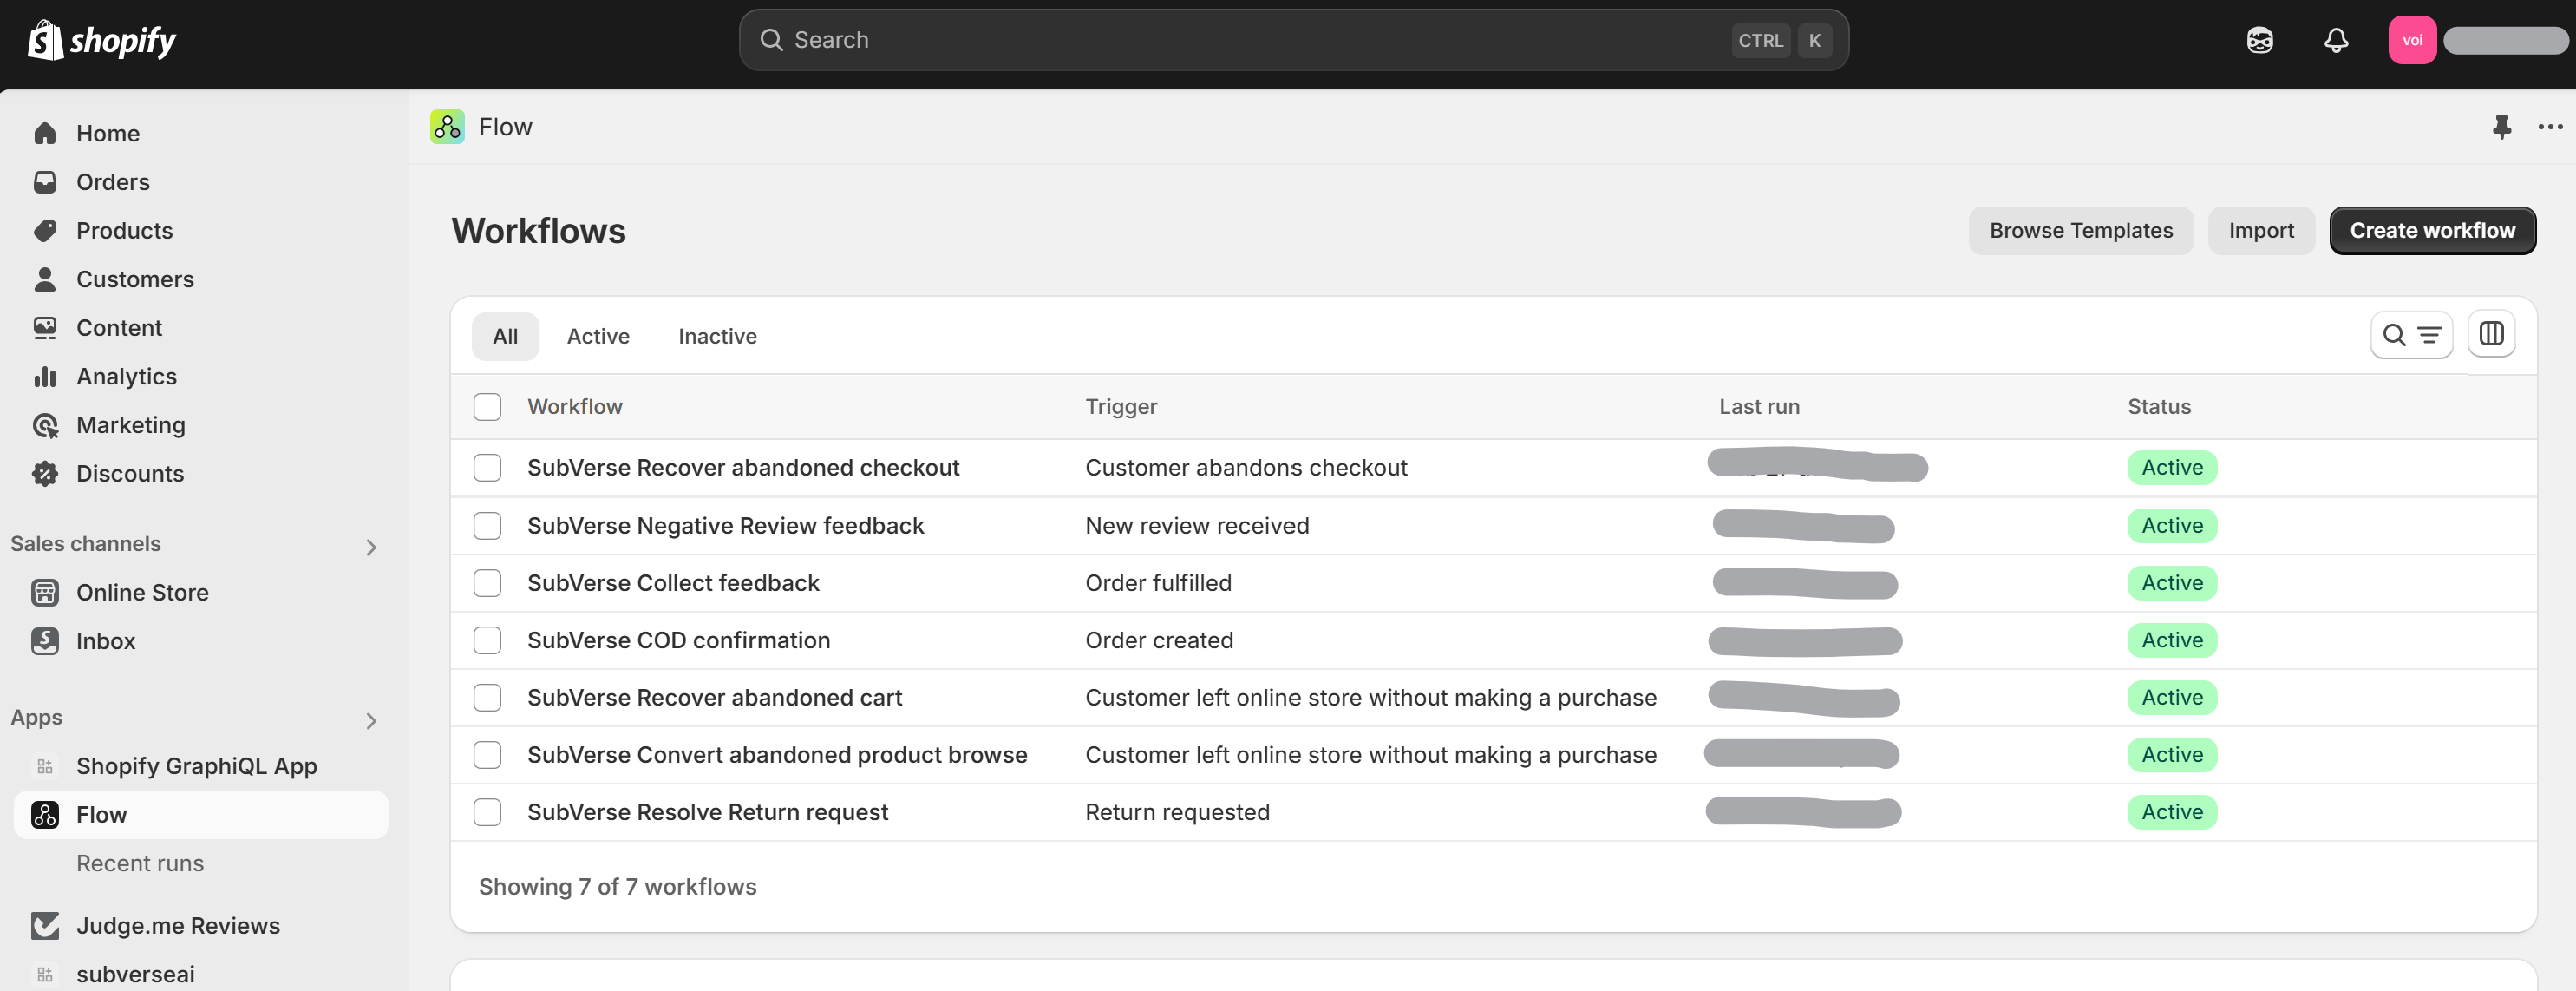 Below is the list of SubVerse templates, you can either search them or just click on the hyperlink:
* [SubVerse Recover abandoned checkout](https://admin.shopify.com/store/voicebottest/apps/flow/editor/templates/)
* [SubVerse Convert abandoned product browse](https://admin.shopify.com/store/voicebottest/apps/flow/editor/templates/)
* [SubVerse Recover abandoned cart](https://admin.shopify.com/store/voicebottest/apps/flow/editor/templates/)
* [SubVerse COD confirmation](https://admin.shopify.com/store/voicebottest/apps/flow/editor/templates/)
* [SubVerse Collect feedback](https://admin.shopify.com/store/voicebottest/apps/flow/editor/templates/)
* [SubVerse Negative Review feedback](https://admin.shopify.com/store/voicebottest/apps/flow/editor/templates/)
* [SubVerse Resolve Return request](https://admin.shopify.com/store/voicebottest/apps/flow/editor/templates/)
Below is the list of SubVerse templates, you can either search them or just click on the hyperlink:
* [SubVerse Recover abandoned checkout](https://admin.shopify.com/store/voicebottest/apps/flow/editor/templates/)
* [SubVerse Convert abandoned product browse](https://admin.shopify.com/store/voicebottest/apps/flow/editor/templates/)
* [SubVerse Recover abandoned cart](https://admin.shopify.com/store/voicebottest/apps/flow/editor/templates/)
* [SubVerse COD confirmation](https://admin.shopify.com/store/voicebottest/apps/flow/editor/templates/)
* [SubVerse Collect feedback](https://admin.shopify.com/store/voicebottest/apps/flow/editor/templates/)
* [SubVerse Negative Review feedback](https://admin.shopify.com/store/voicebottest/apps/flow/editor/templates/)
* [SubVerse Resolve Return request](https://admin.shopify.com/store/voicebottest/apps/flow/editor/templates/)
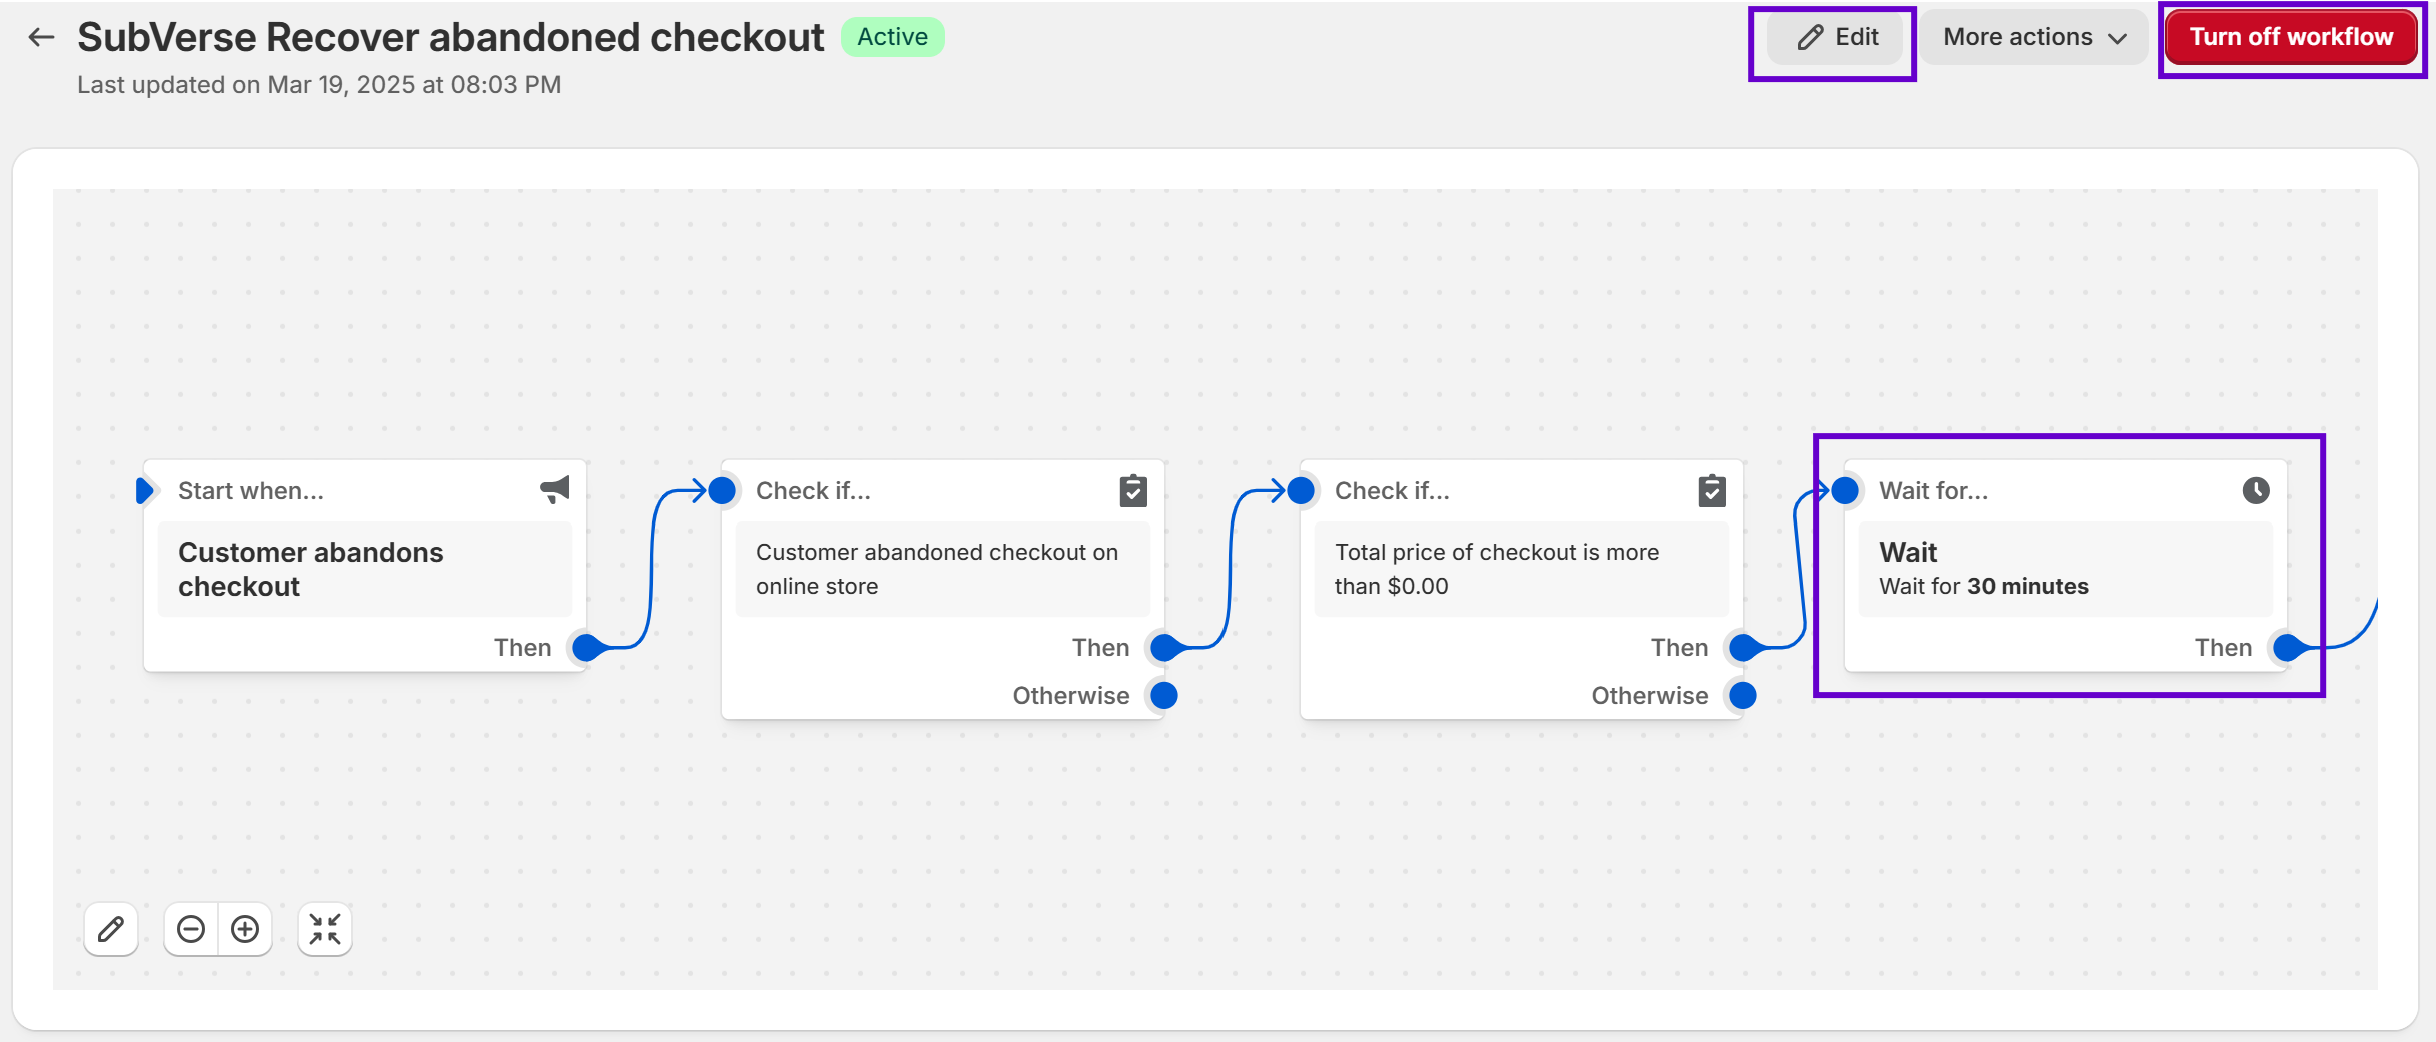
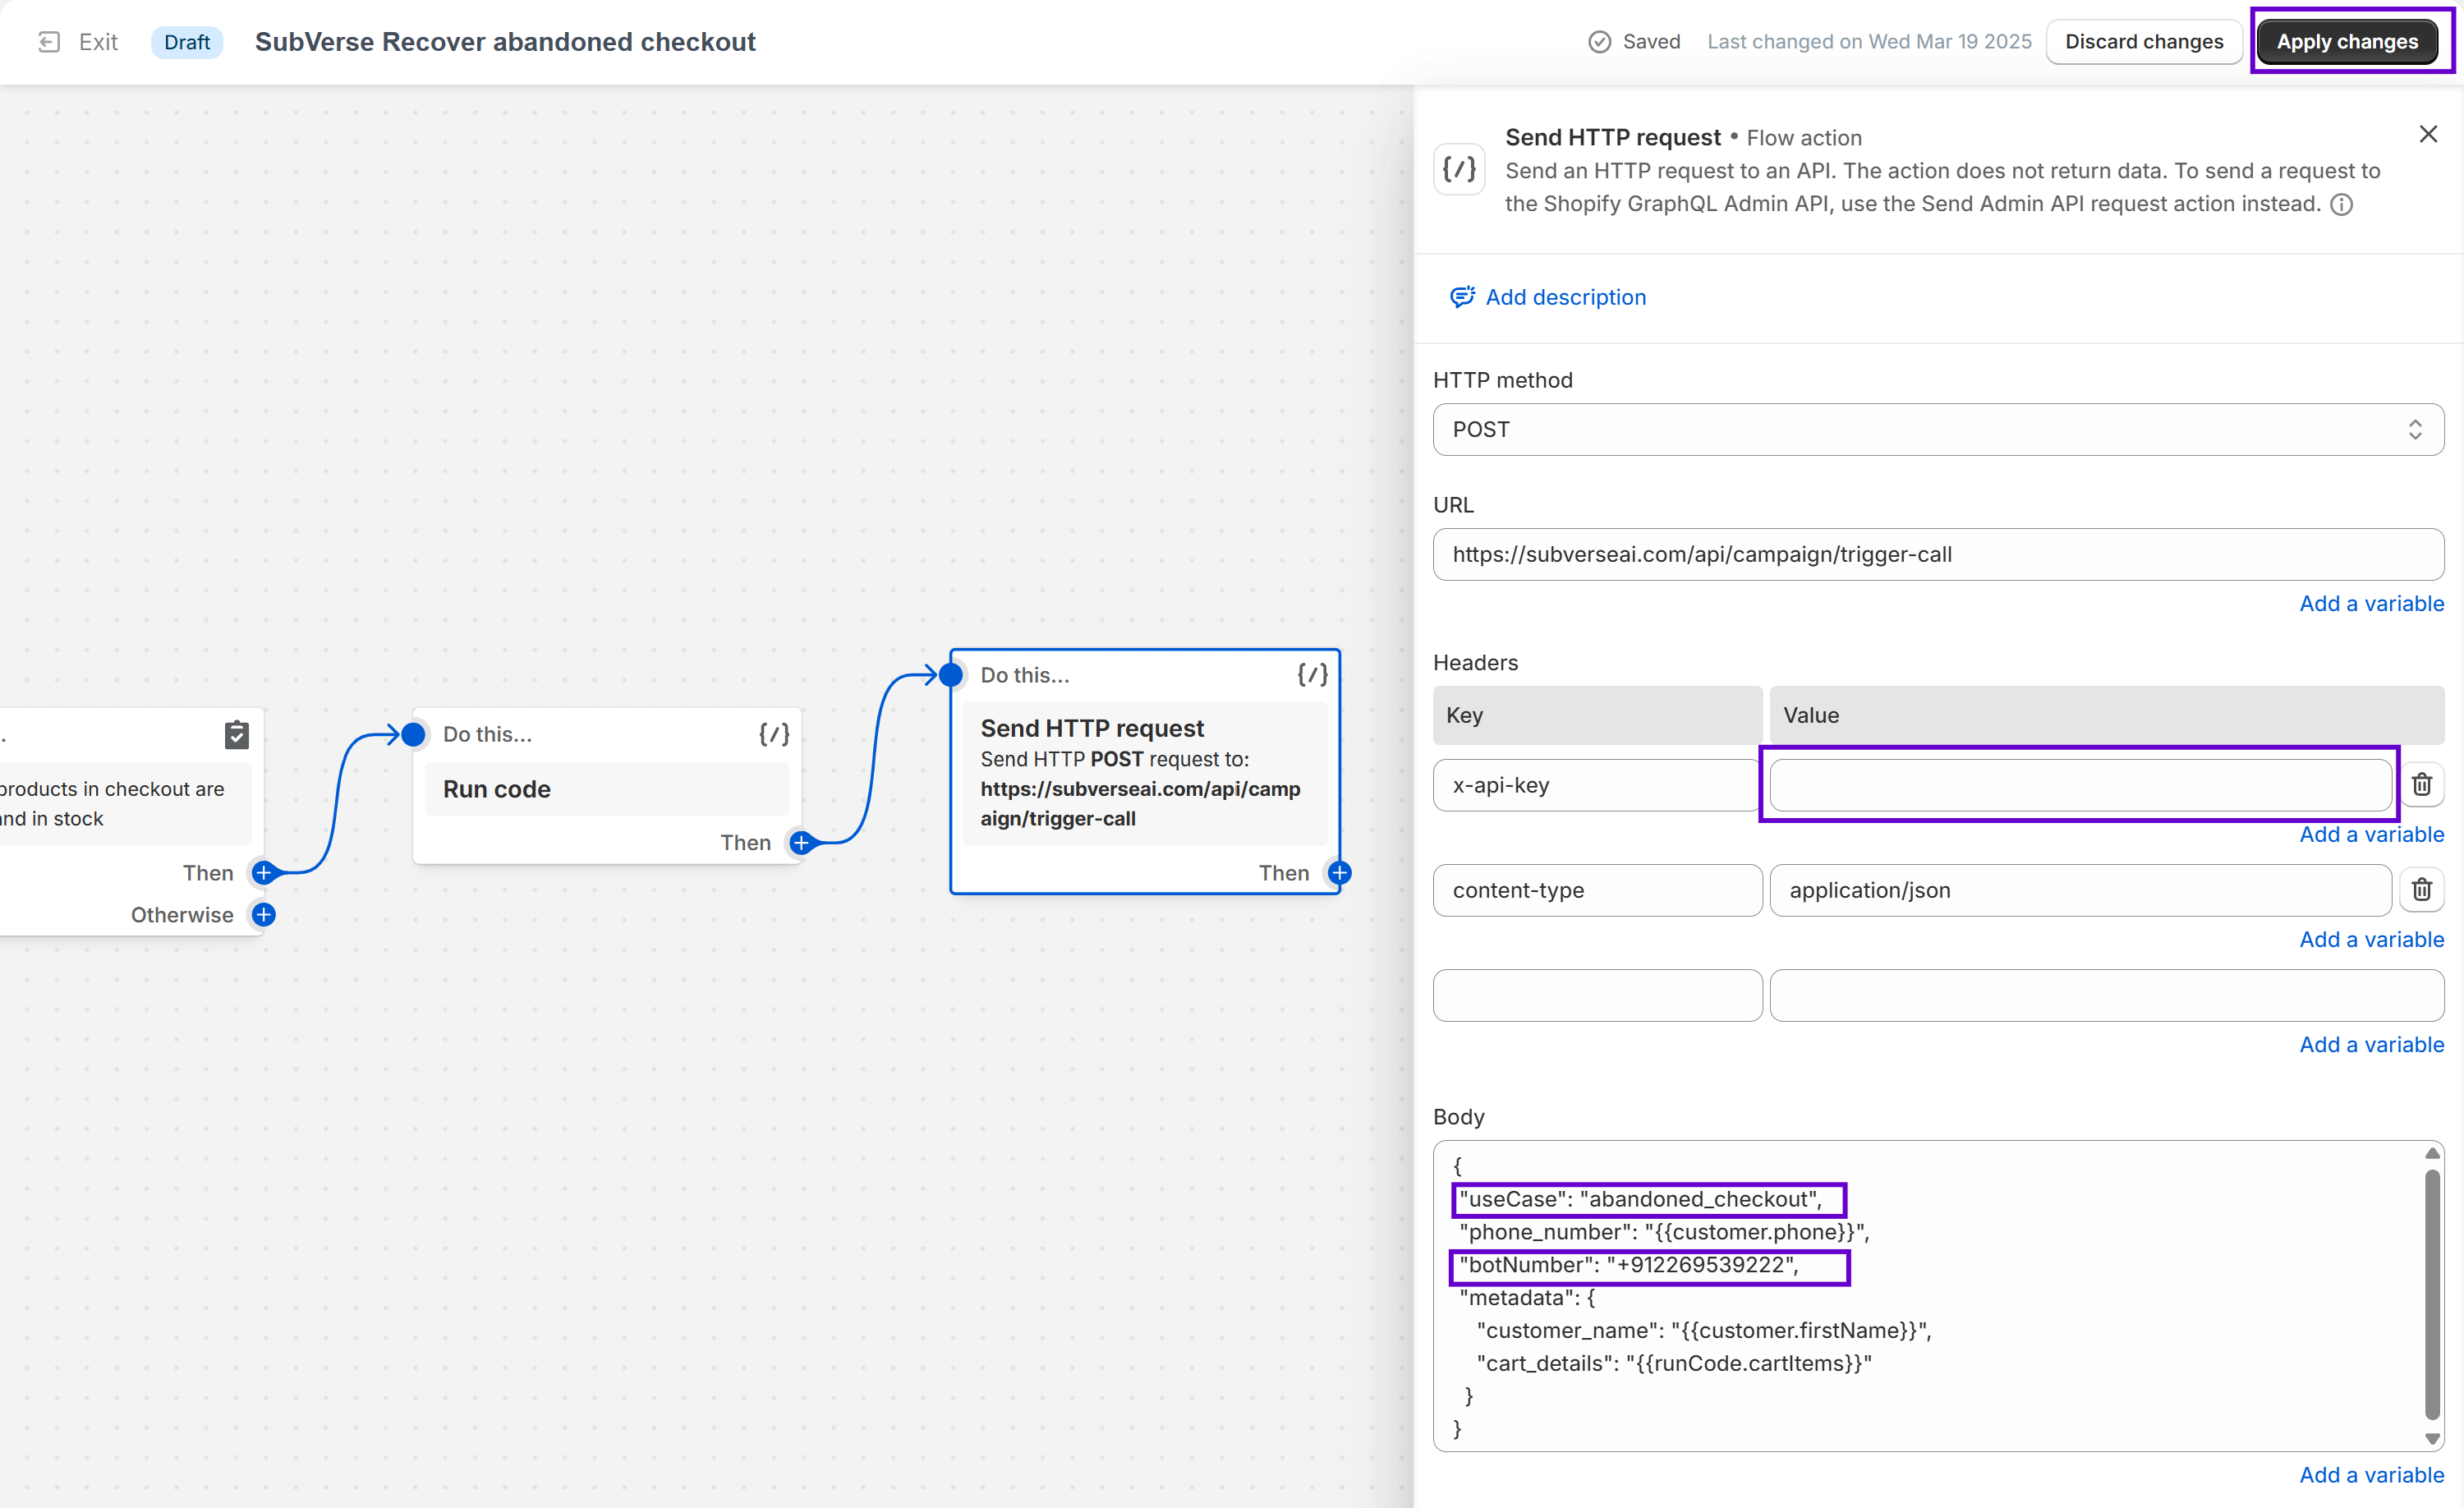 1. Install these workflow templates one by one.
2. For every workflow, click **Edit** and select the last block **Send HTTP Request**
3. Enter `API key` as value in **Headers** section besides `x-api-key`.
4. In **Body** section, enter `your virtual number` in `botNumber` and update `useCase` name if necessary.
Best practices for agent prompting and other settings
Take more actions by setting up workflow automation
See transcripts, recordings, analysis of agent-customer interactions
API docs to trigger calls from Shopify and other external platforms.
1. Install these workflow templates one by one.
2. For every workflow, click **Edit** and select the last block **Send HTTP Request**
3. Enter `API key` as value in **Headers** section besides `x-api-key`.
4. In **Body** section, enter `your virtual number` in `botNumber` and update `useCase` name if necessary.
Best practices for agent prompting and other settings
Take more actions by setting up workflow automation
See transcripts, recordings, analysis of agent-customer interactions
API docs to trigger calls from Shopify and other external platforms.