Provider-Specific Configuration Guides
For detailed step-by-step instructions on configuring SIP trunks with specific providers:Configure with Twilio
Complete Twilio SIP trunk setup guide
Configure with Telnyx
Complete Telnyx SIP trunk setup guide
Configure with Plivo
Complete Plivo SIP trunk setup guide
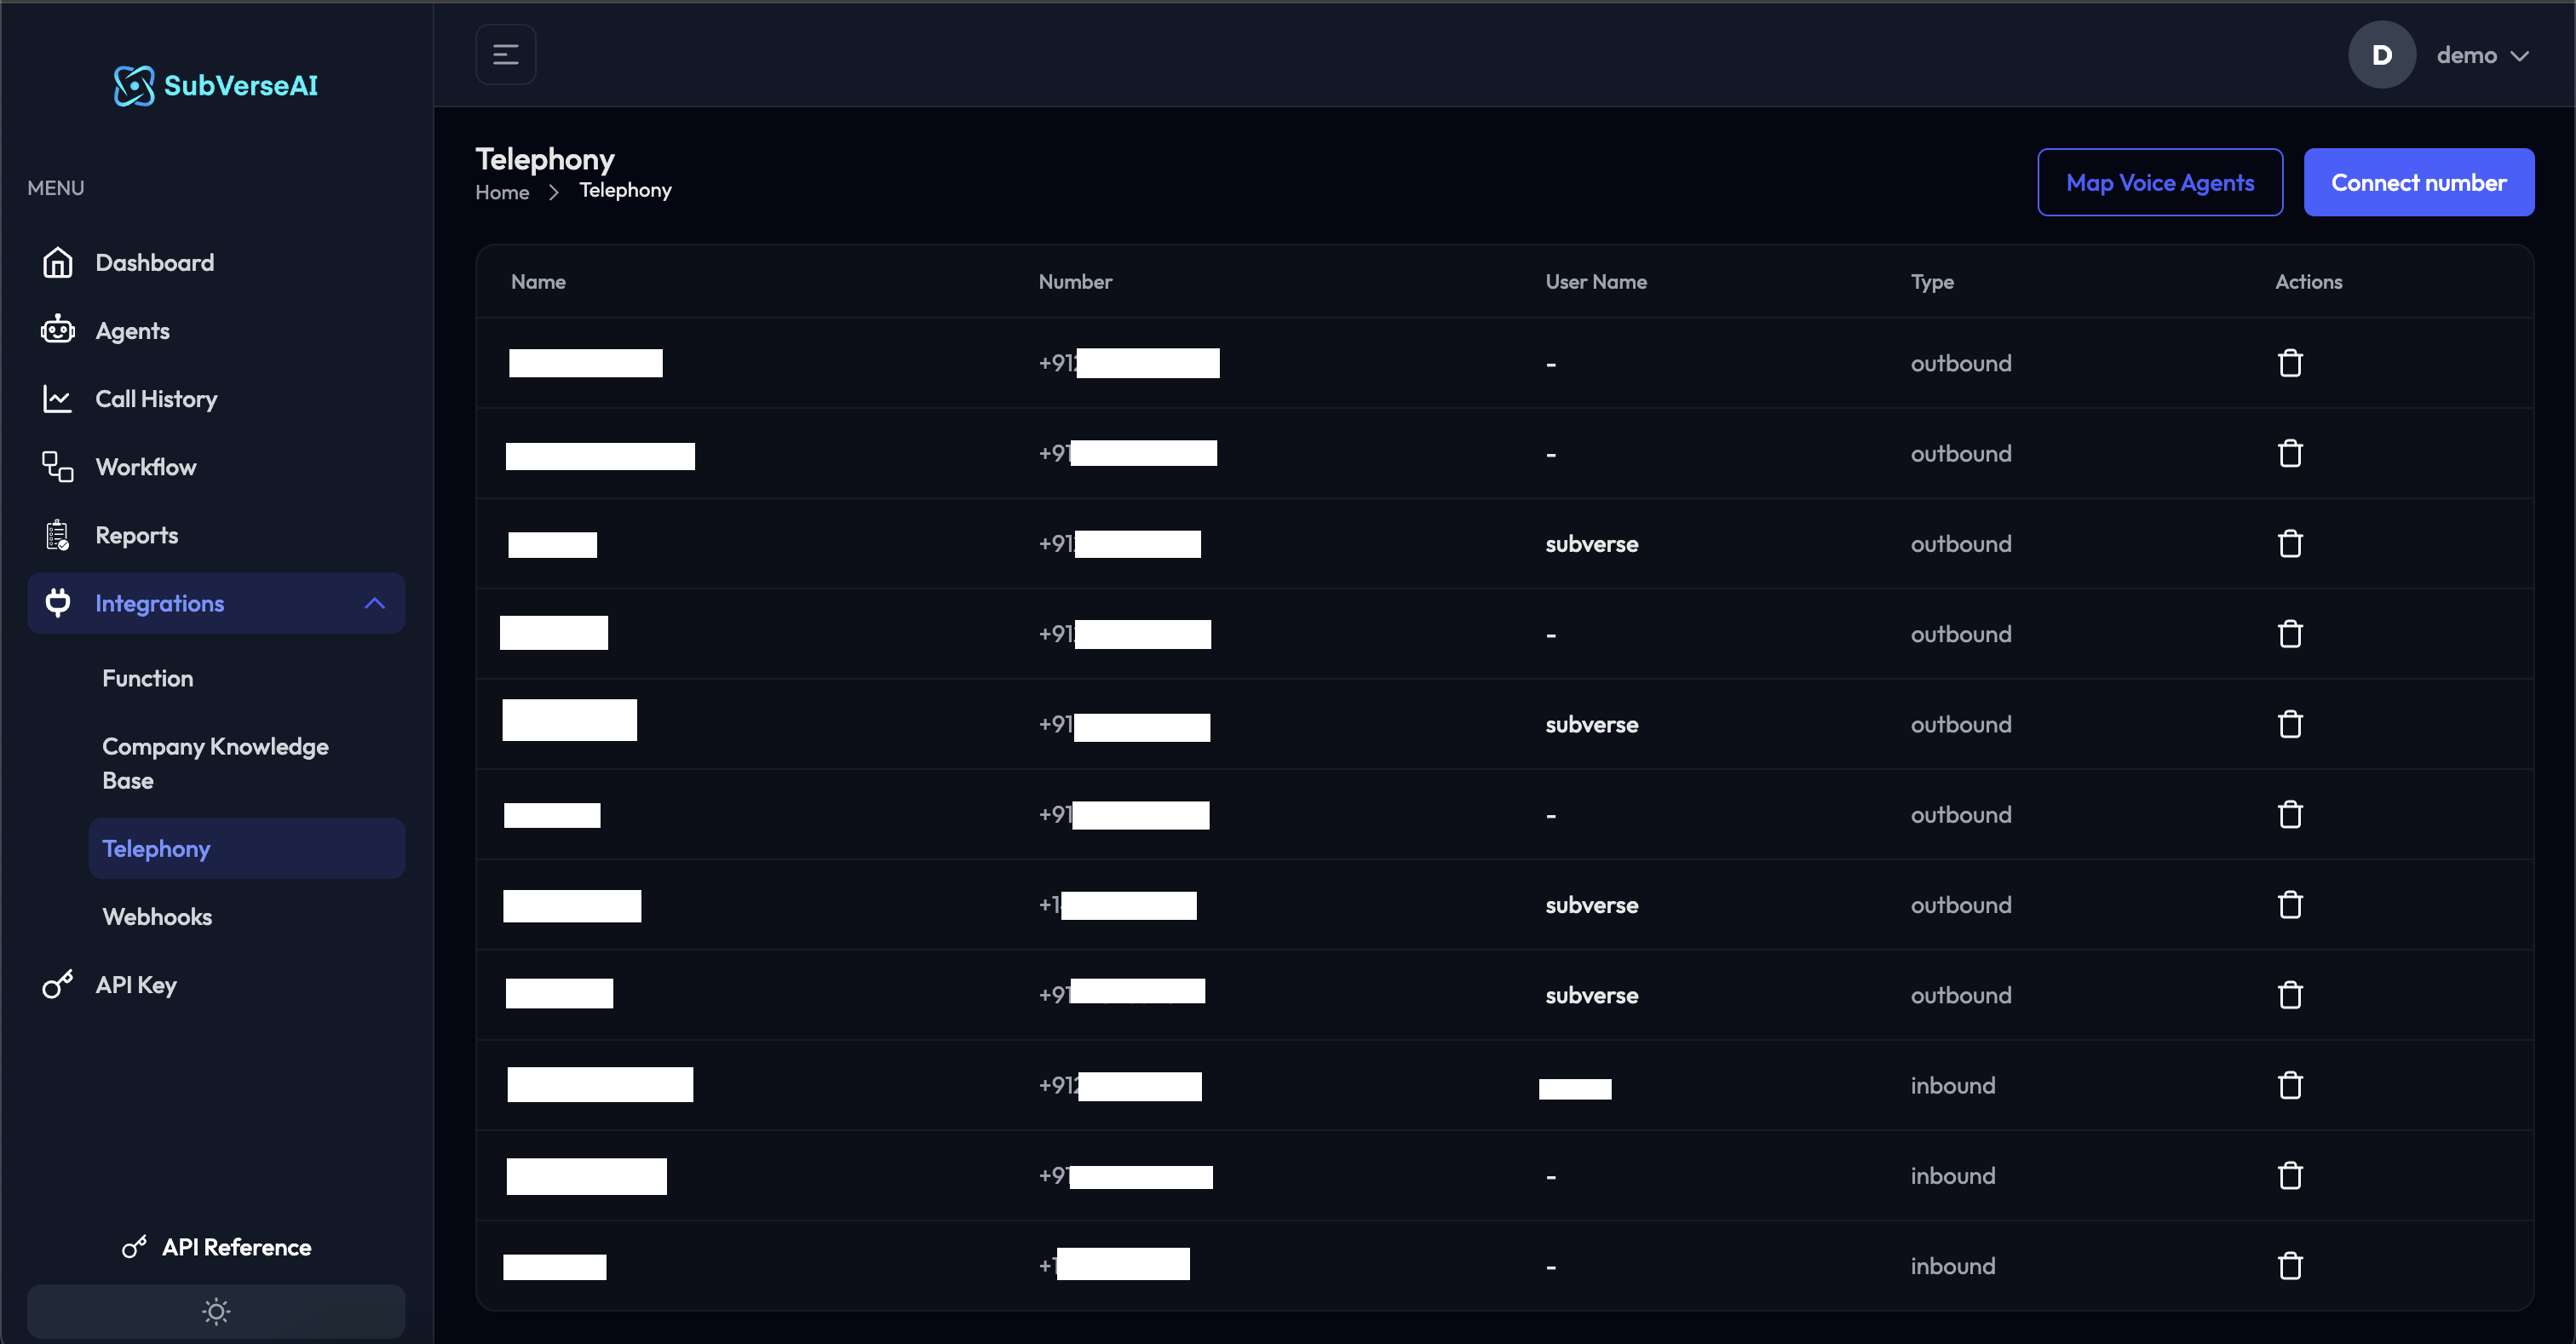
Outbound trunk
Setup your voice agent to make outgoing calls from your number.Create a SIP trunk
- Buy a virtual number from your cloud telephony service provider.
- There are 2 methods for authentication: IP whitelisting, or auth credentials.
- Currently SubVerse SIP server does not have a static IP, so if you opt for the IP route, you need to whitelist all the IP addresses in the range like this:
0.0.0.0/1,128.0.0.0/1. - It is recommended that you also setup Auth Username and Password for secure communication.
- For detailed provider-specific instructions, see our configuration guides for Twilio, Telnyx, or Plivo.
Link to the voice agent
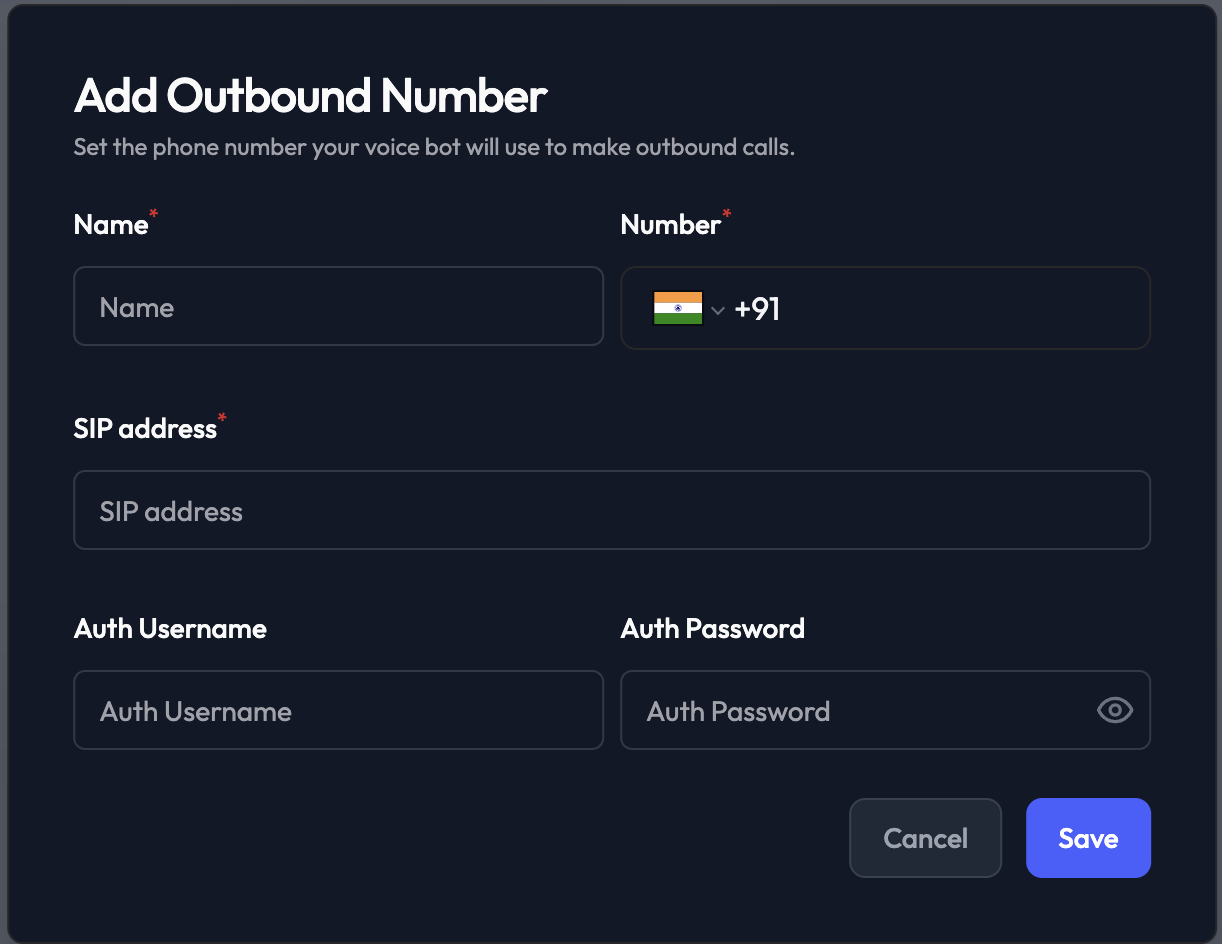
- Provide a Name for the connection.
- Input the Phone Number with country code.
- Select your SIP Credentials from the dropdown menu. These credentials contain the SIP address and authentication details needed for the trunk.
- Learn how to create SIP credentials
- All credential fields are encrypted for security
- You can start using this number for making calls through voice agents interface, workflows, or call APIs.
Inbound trunk
Setup your voice agent to accept incoming calls on your number.Create a SIP trunk
- Buy a virtual number from your cloud telephony service provider.
- Get your Origination URI from the SubVerse Telephony dashboard (it will look like:
sip:xxxxx.sip.livekit.cloud). - Configure an inbound SIP trunk in your provider’s dashboard using the Origination URI from SubVerse.
- It is recommended that you also setup Auth Username and Password for secure communication.
- For detailed provider-specific instructions, see our configuration guides for Twilio, Telnyx, or Plivo.
Link to the voice agent
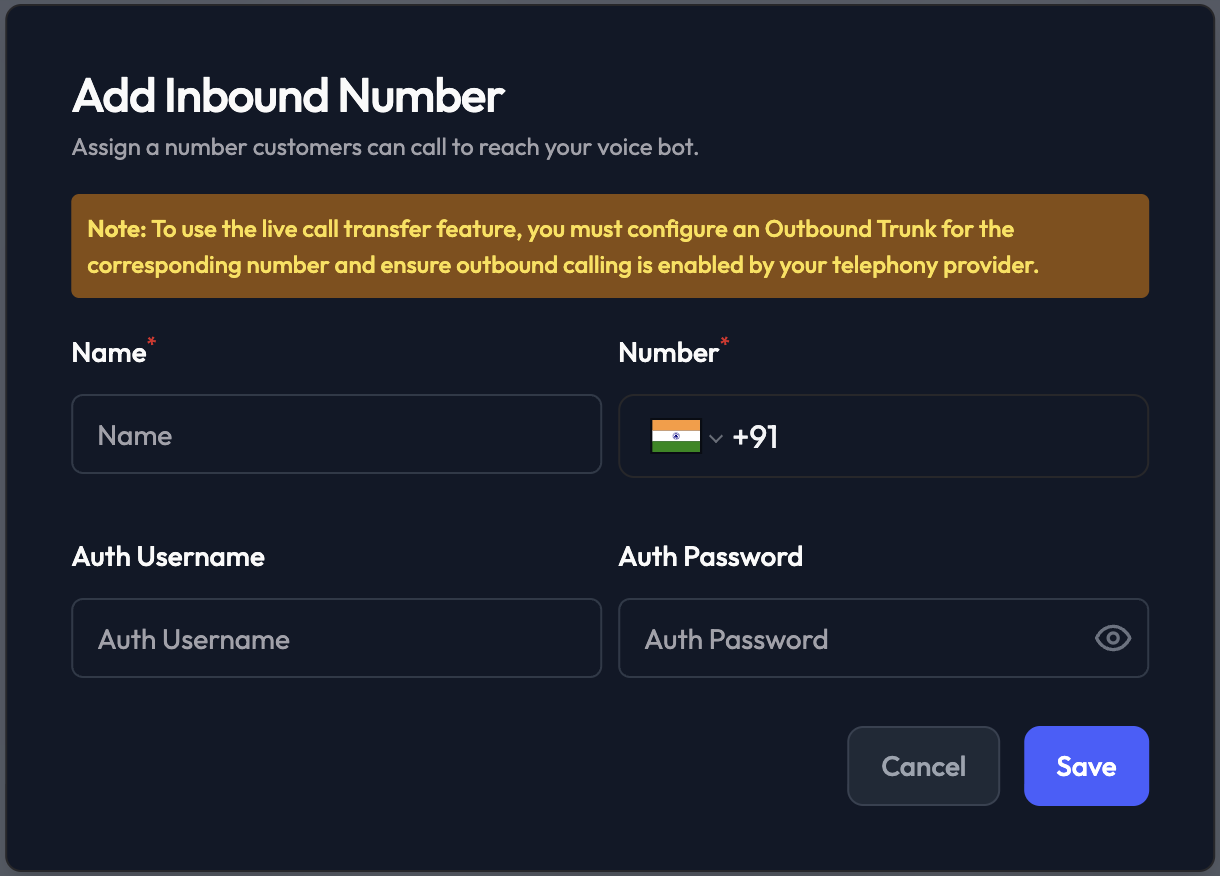
- Provide a Name for the connection.
- Input the Phone Number with country code.
- Select your SIP Credentials from the dropdown menu. These credentials contain the authentication details needed for the trunk.
- Learn how to create SIP credentials
- All credential fields are encrypted for security
- Configure voice agent mapping (optional):
- Agent: Select the voice agent you want to use while accepting calls
- Agent Version: Choose version number or use “default”/“draft” (defaults to “default”)
Troubleshooting
Credential Selection Issues
No SIP credentials appear in dropdown- Ensure you have created SIP credentials first
- Check that your credentials have been saved successfully
- Verify you have the necessary permissions to access credentials
- Test your SIP credentials in the Credentials section
- Verify the SIP address and authentication details are correct
- Check if your SIP provider account is active and properly configured
- Verify network connectivity to your SIP provider
- Check firewall settings allow SIP traffic (ports 5060/5061)
- Ensure your SIP provider supports the authentication method used
- Contact your SIP provider if the issue persists
- Check your network bandwidth and latency
- Verify codec compatibility with your SIP provider
- Test with different audio quality settings in your voice agent configuration