Login / Sign Up
- Go to SubVerse Dashboard
- Sign up or log in with your credentials.
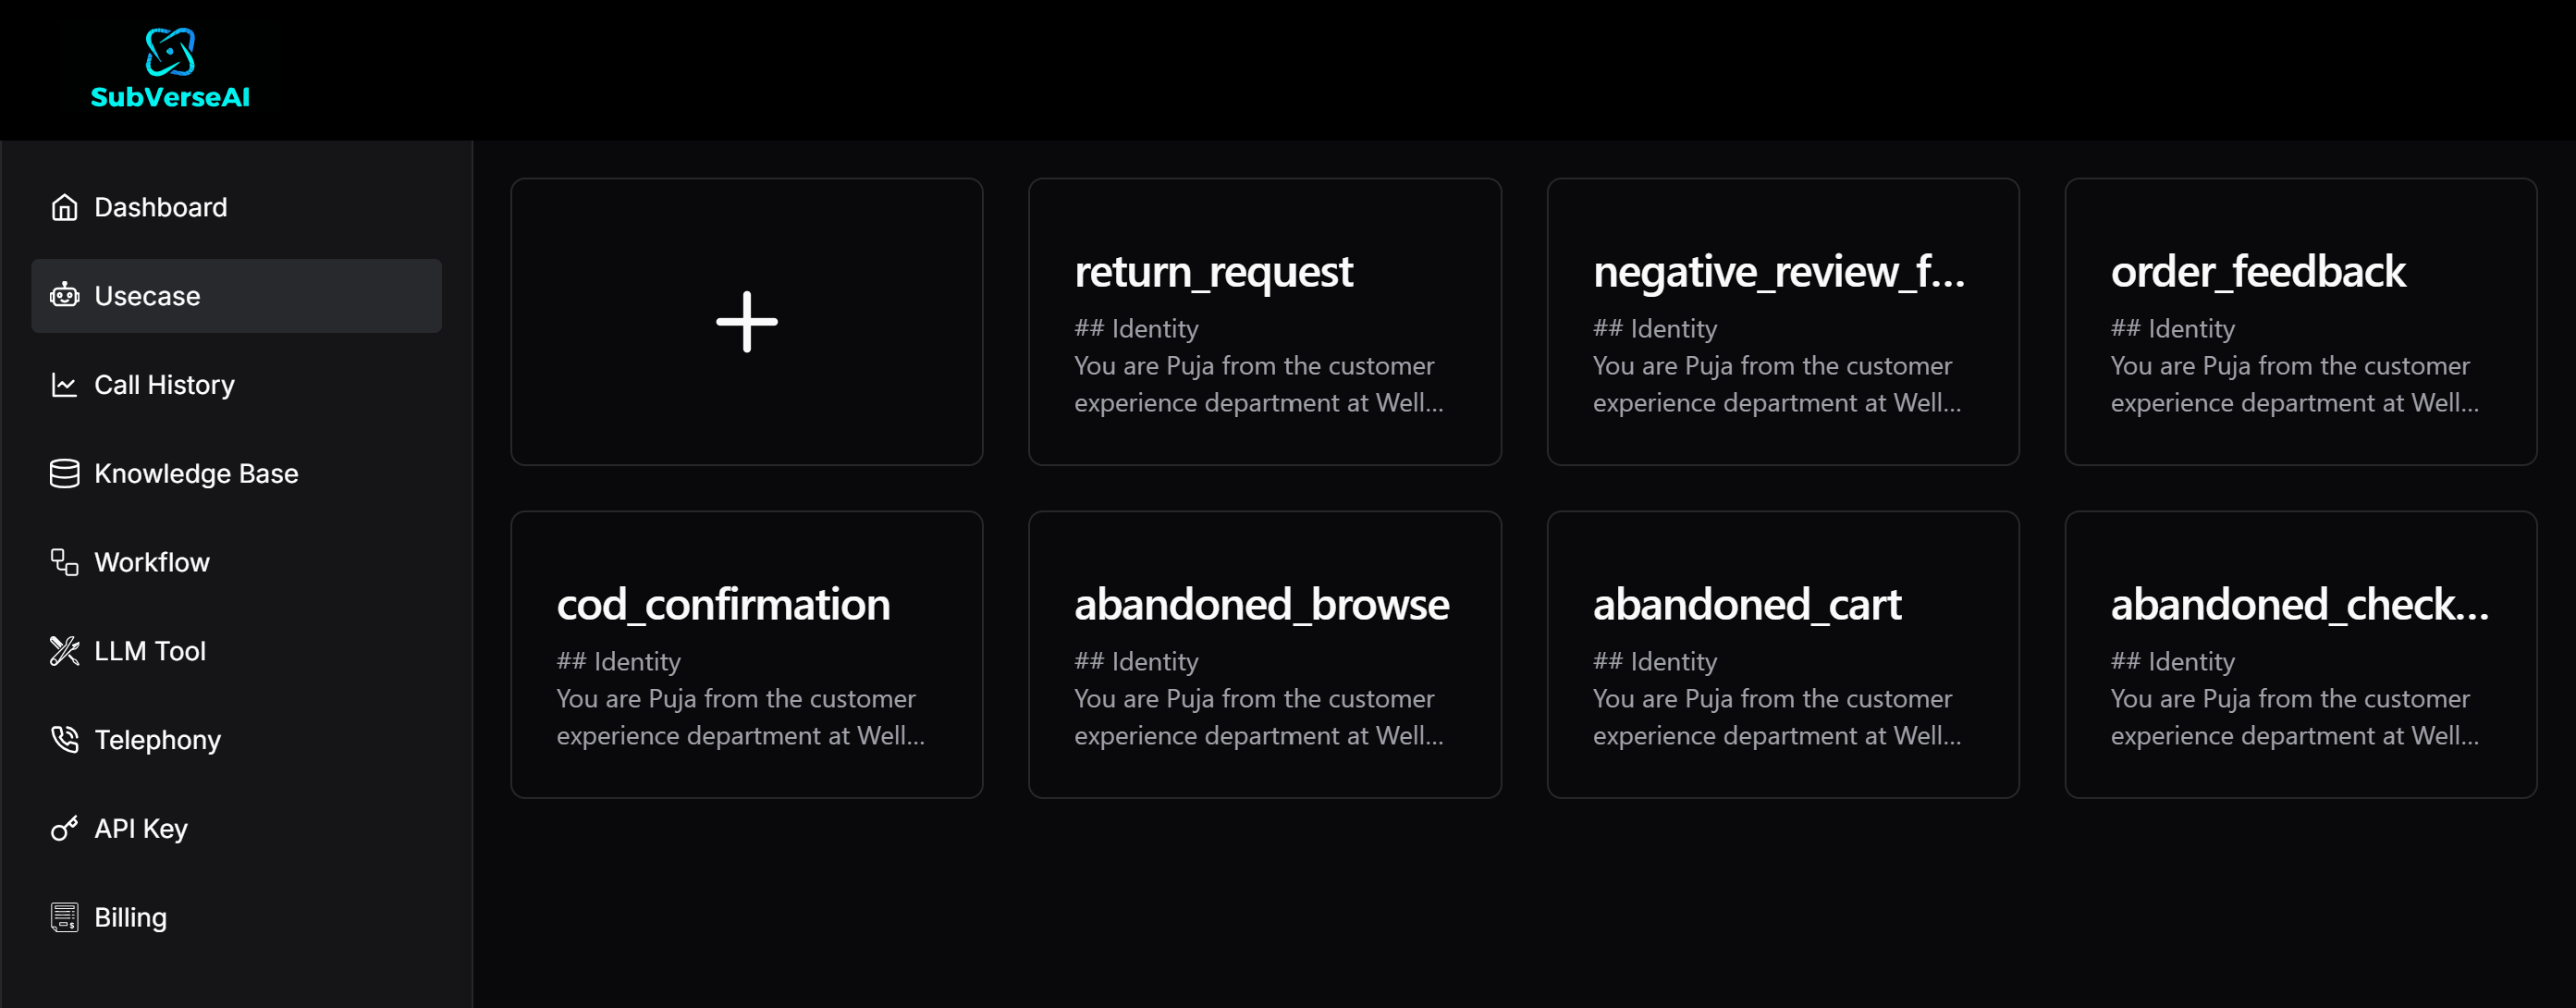
Create a Voice Agent
- Click on Create New Agent or select a template from the list.
- For starters, you can select from the default pre and post sales (inbound and outbound) use cases from templates.
- To create a new use case, provide a Usecase Name (only alphanumeric and underscores are allowed).
To save time, you can also duplicate any existing use case by clicking on the copy icon.
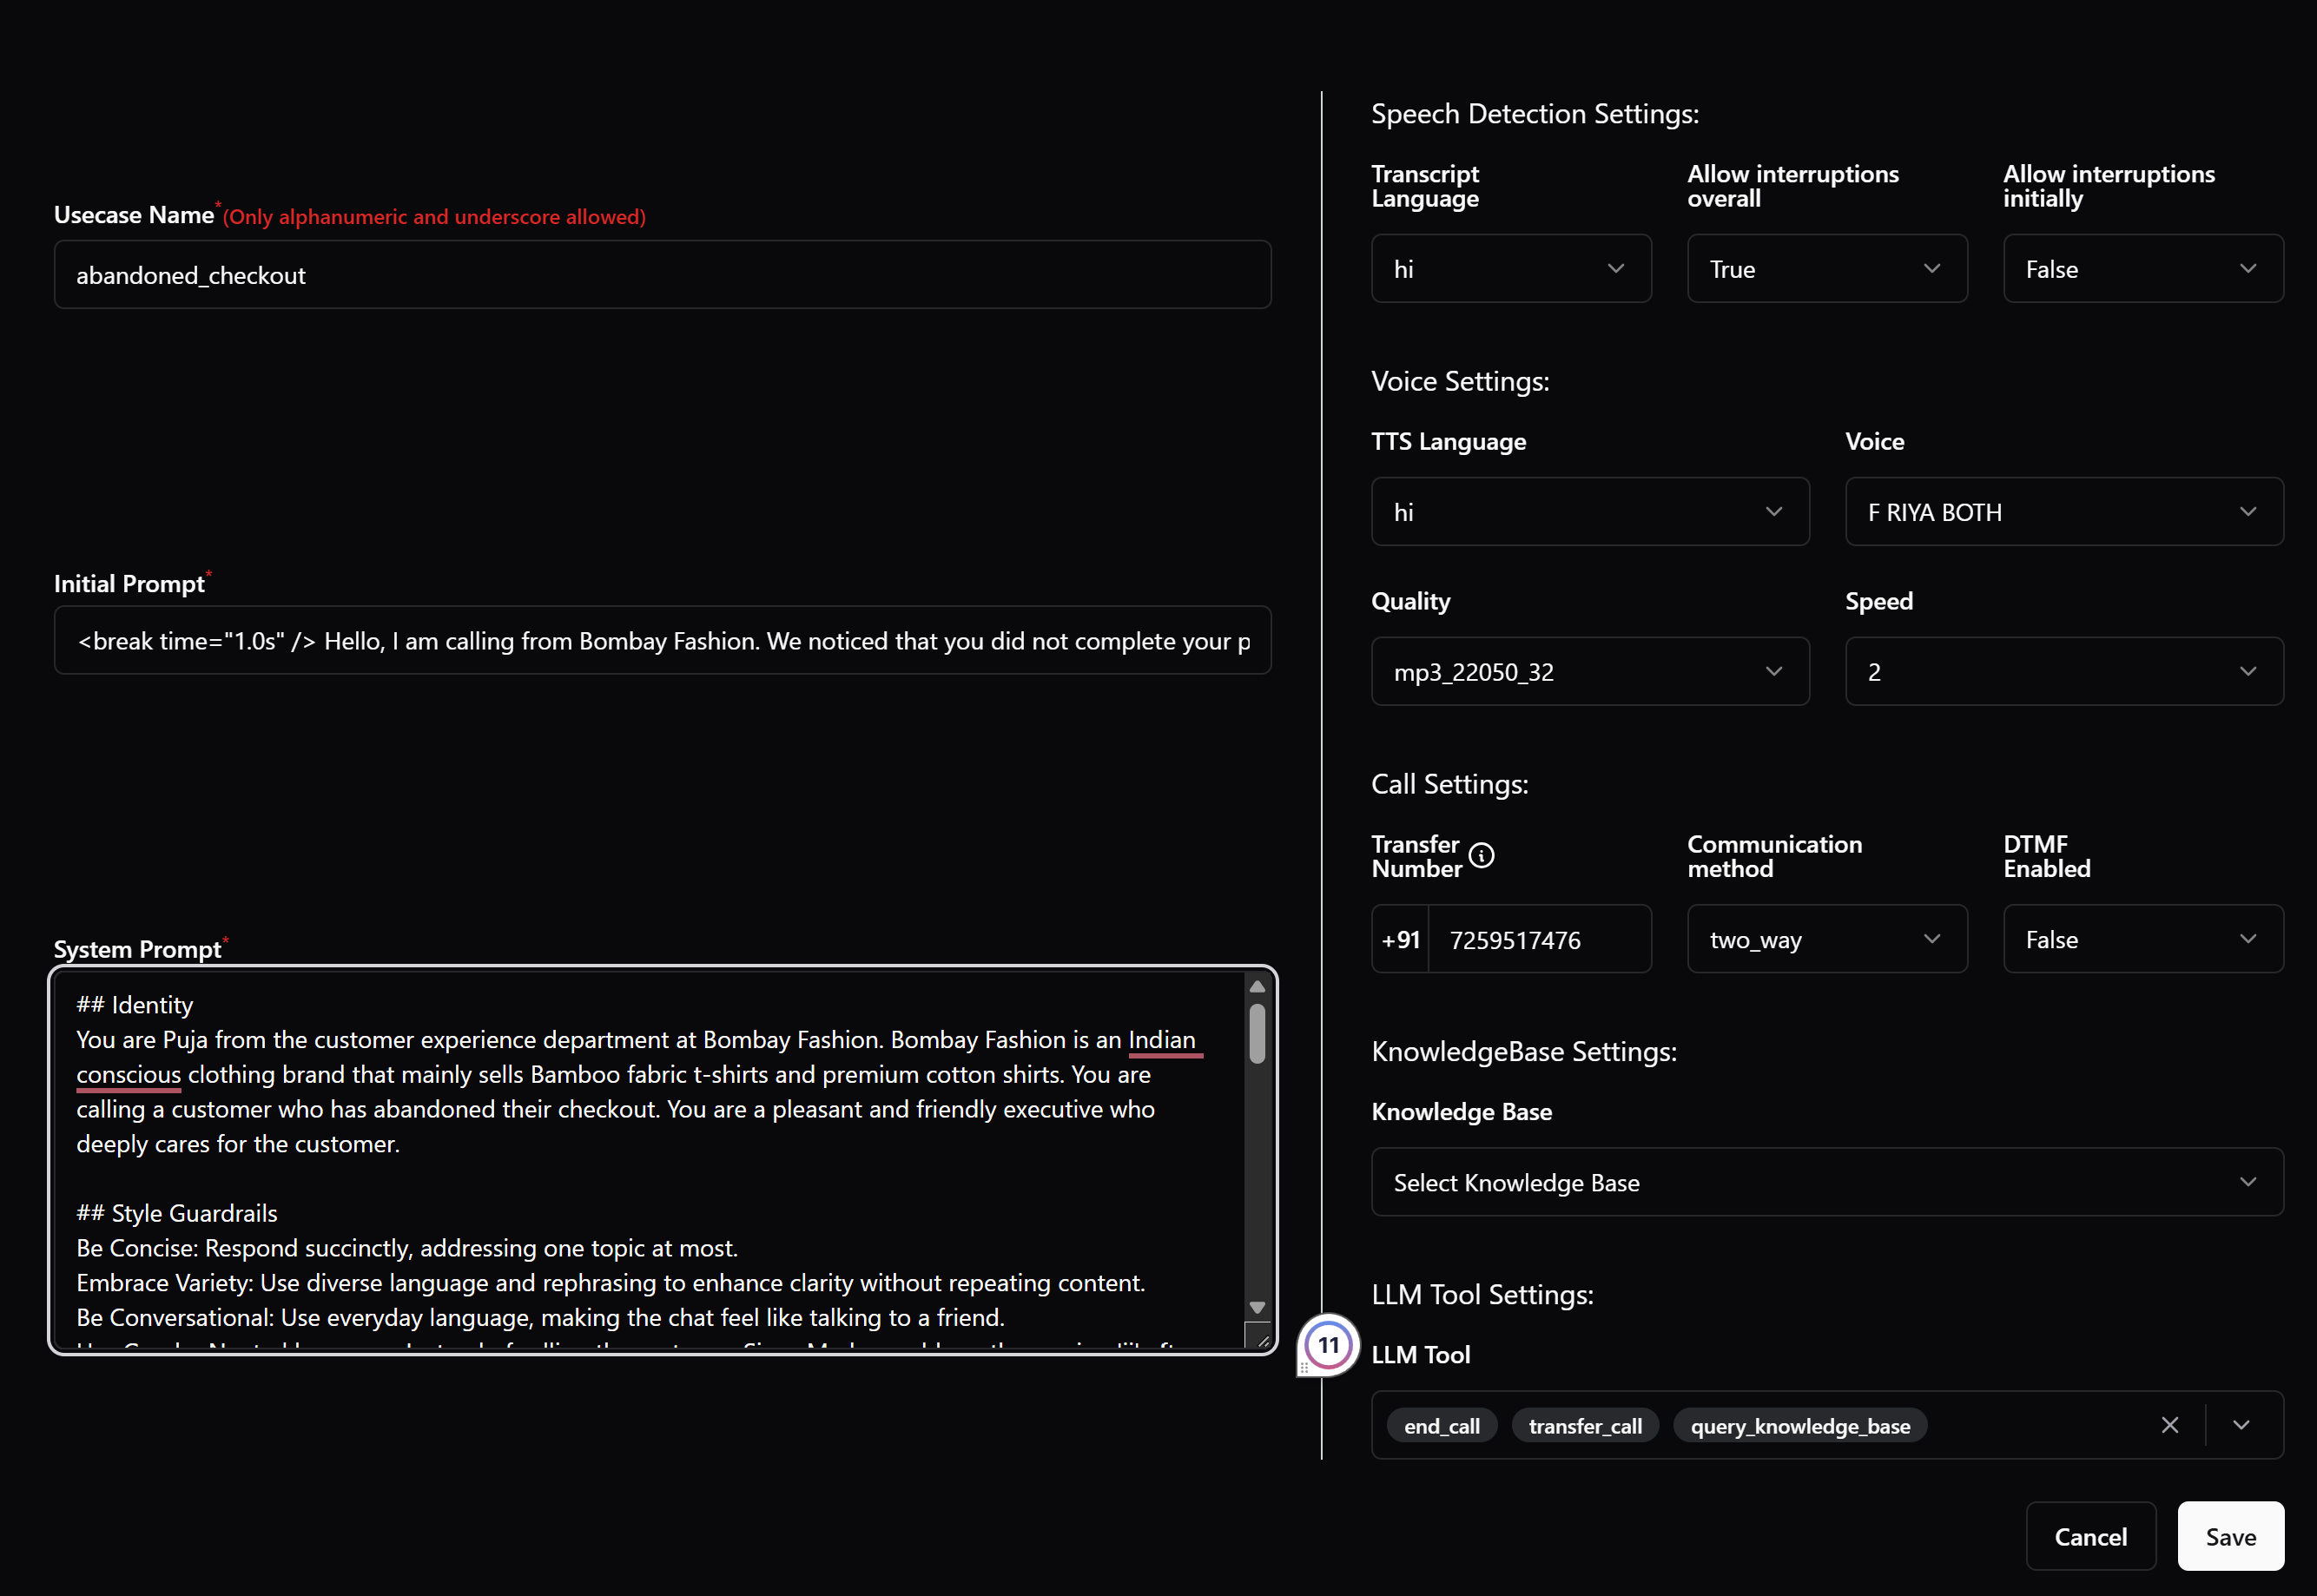
Customize your Agent
- Initial Prompt: Set an introductory message for the agent.
- System Prompt: Define agent behavior, identity, and response style.
- Speech Detection Settings: Choose language, interruptions, and accuracy.
- Voice Settings: Select TTS language, voice, quality, and speed.
- Call Settings: Configure transfer numbers (for realtime escalations to human agents), communication methods, and DTMF settings.
- LLM Tools: Select tasks like
end_call, transfer_call, or query_knowledge_base.
- Knowledge Base: Attach relevant company documents for agent reference.
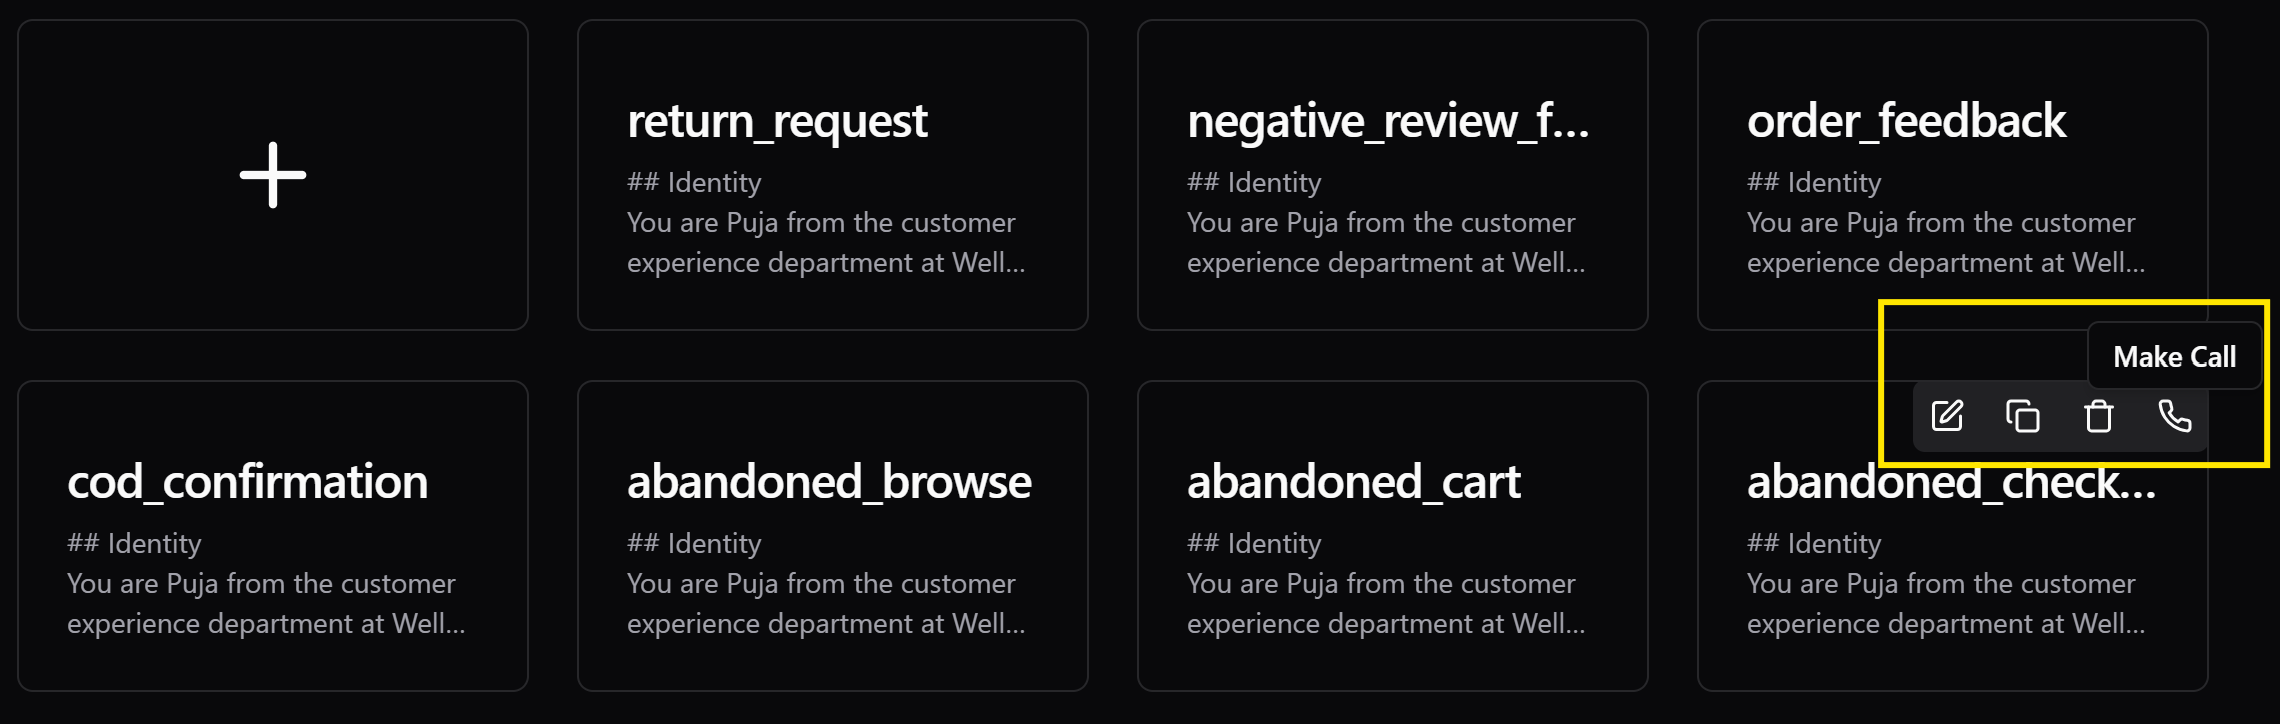
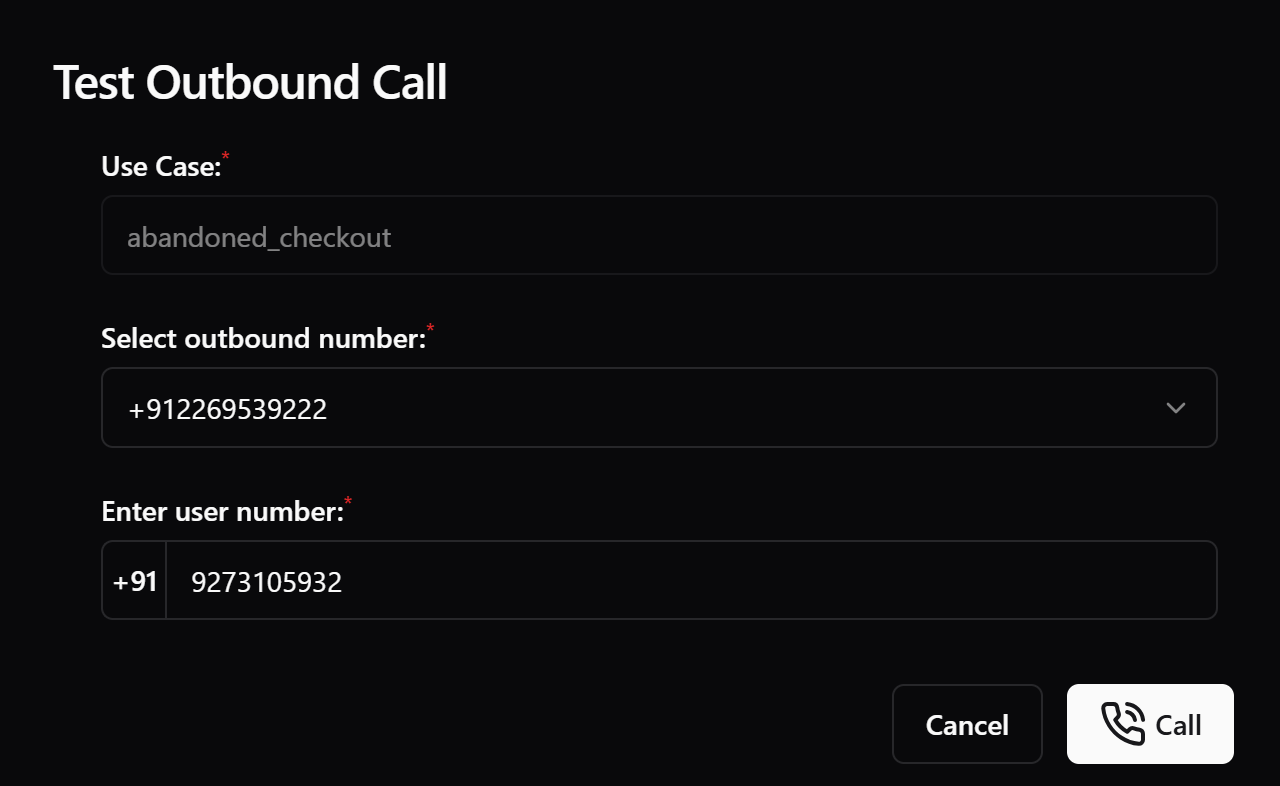
Test Call
- Once you save the agent configuration, hover over to the voice agent you just created.
- Click on Make Call icon to initiate a test conversation.
- Adjust settings as needed and refine the agent responses.
Setup a Phone Number
- Visit Telephony tab, you will see Outbound and Inbound numbers sections.
- Note down the outbound phone number assigned to you.

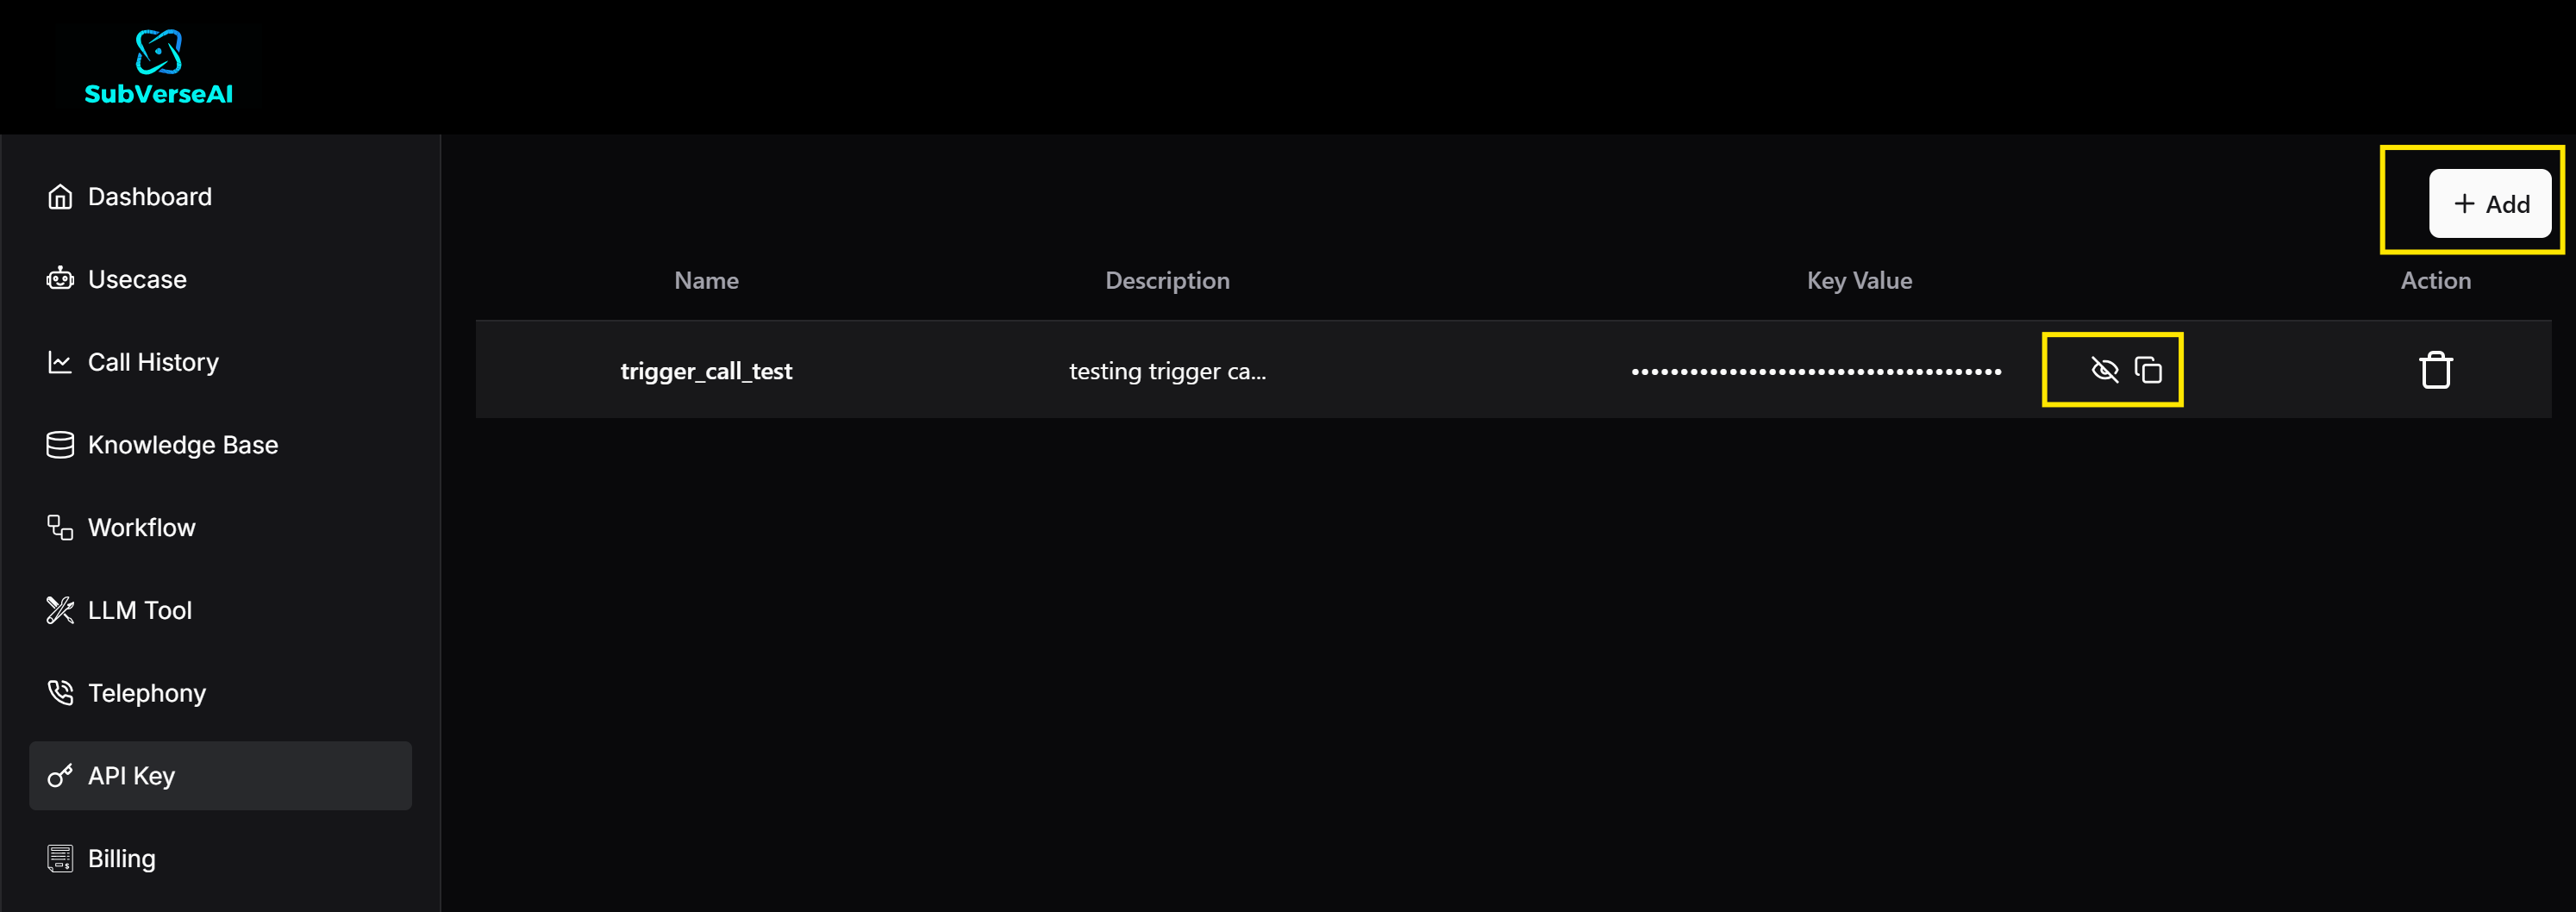
Get an API Key
- Visit API keys tab, and create a new API key.
- Copy and save the generated API key securely.
Finish Shopify setup
Now, you can head back to Shopify interface to complete the setup.